5 tips to master food photography for beginners

food photography for beginners

Based on my personal experiences, I will give you my 5 advices to nail your food photography for beginners. You don’t have to be a professional photographer to post nice foodie pictures on Instagram. In fact, this applies to people using a phone or any kind of camera.

Food Photography tip 1 : Lighting

This is probably the most important aspect of food photography for beginners: You need good lighting. It would provide the best exposure for your food. Since we are not talking about professional photography, I’m referring to natural light. During the day, if you are booking a restaurant or even just walking in, ask for a table outside or next to a big window that has a great sun exposure. As for night pictures, it’s a bit more complicated. Make sure there is a good overhead light on your table. Some people would argue you could use a flash. However, I am personally not a fan as it makes the picture overexposed. Your picture is not evenly and there is too much white balance that does not make you to appreciate the food.

burger food photography

Food photography tip 2 : Focus

I enjoy using focus with a blurry effect around the focal point (called the depth of field for professionals). It directs your viewer to what he should be paying attention to and brings the picture to life. Basically, it gives your picture a three-dimension perspective that you don’t get when taking just a classic picture. To decide on what will be your focal point, think of two things:

  • What aspect of this dish makes you the hungriest? On a burger it could be the melting cheese or on a cake it could be the icing. I would advise you to focus on the aspects that make you want to try the food you are shooting.
  • What has the most texture on this dish? For example when I think of fries I love the crunchiness so I would focus on edges because those are the crunchiest part of the fries, or when I think I shooting Gyozas, I would want to shot both top and bottom as I love the dual textures on these dumplings
food photography with camera

Food Photography tip 3 : Angle

Usually they are 3 mains types of angles to shoot with different purposes :

  • 0 degree or straight on, mostly used to shoot pancakes, cakes or cocktails. This is perfect for items that have layers, and that is the most interesting aspect of it right ?
  • 25 to 75 degrees, basically a side picture: this is the most classic or common angle taken by most of us because it’s easier and natural to shoot. It’s also the best to use when you want to highlight texture because it’s the closest to a three-dimensional view.
  • 90 degrees or top down. This is the best for flat dishes such as pizzas, or for spread as it’s gives a good overview of all the items with nice graphics. Depending on the context this is for me the hardest because I would have to stand up or even on a chair, and you really don’t want to go to that extend when you are just trying to have a good time with friends.
restaurant photography

Food photographs tip 4 : Composition

I’m not going into the complexities of rule of thirds or golden eye techniques. The above three points are actually part of your picture composition. But here I mostly want to talk about how you literally place you subjects in the frame. Do you show the full plate or just part of it, do you show a hand grabbing something to make it more realistic, do you add some accessories to give it more context ? This is where you can be more creative and add your personal touch ! It will make you stand out from others and define your style. I like to sometime show my hands because I always get a nice manicure and it gives a feminine and elegant touch to the picture.

Composition

Food photography tip 5 : Editing

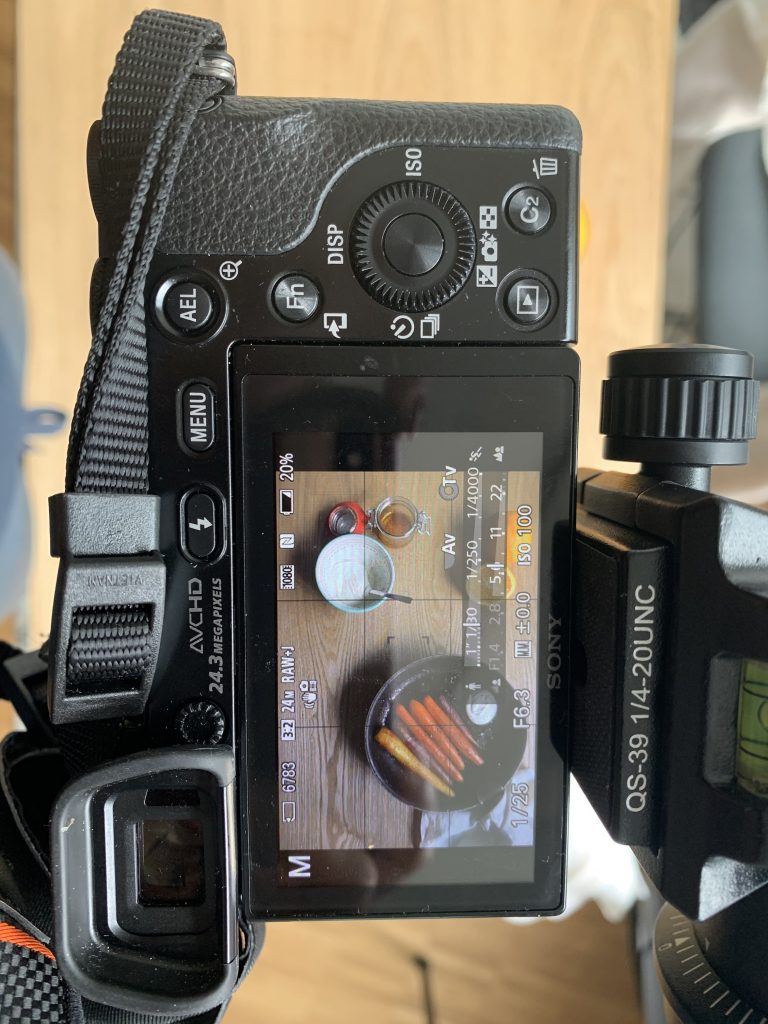
Depending on the location and the device you are using, you may have to make a little bit of tweaking. You can use filters directly on your phone or through an app, but be careful because nobody wants to see a food picture that doesn’t look real, right ? So, here are the items you should pay attention to when editing your pictures :

  • Exposure, especially if you are shooting at night this could help
  • Saturation, this helps you bring up the colors a little when they are a bit grey (don’t go beyond the real colors otherwise it would start looking fake)
  • Contrast gives you picture more density.

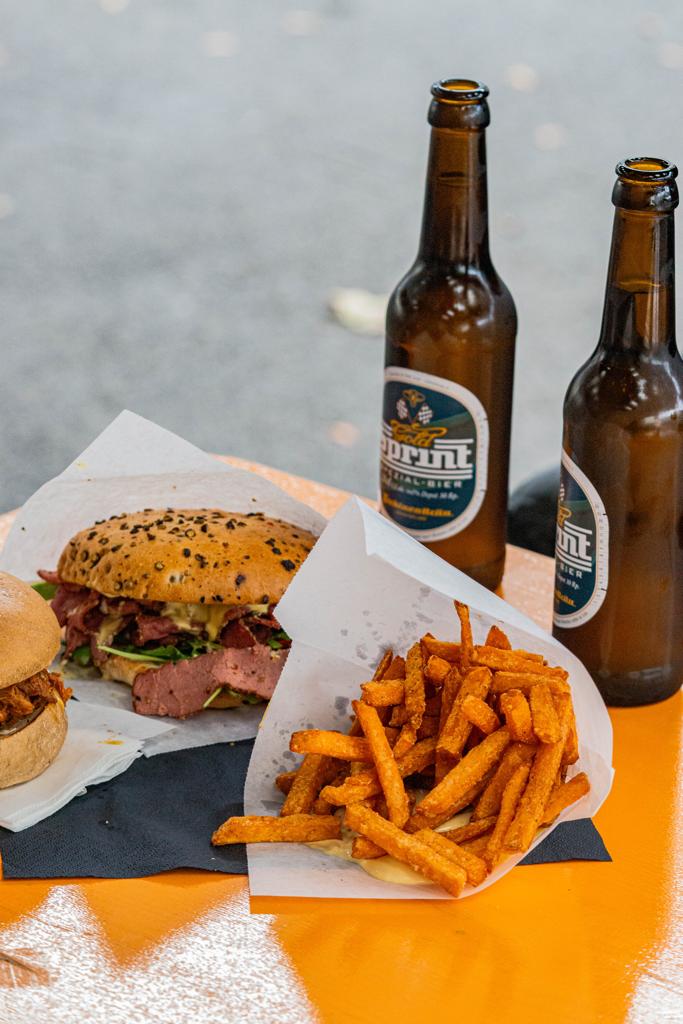
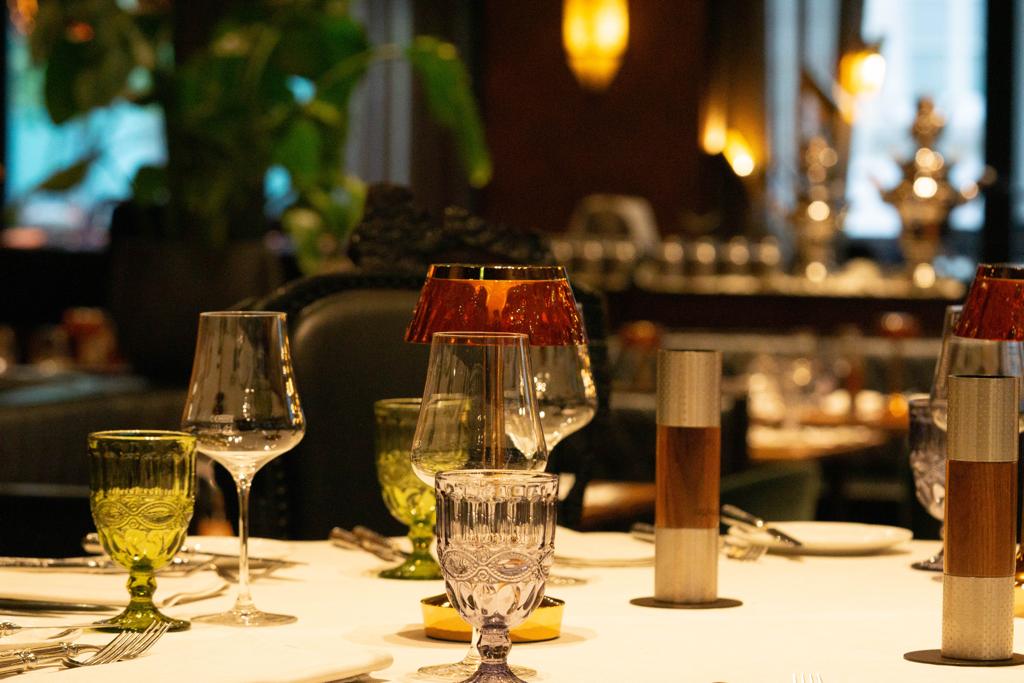
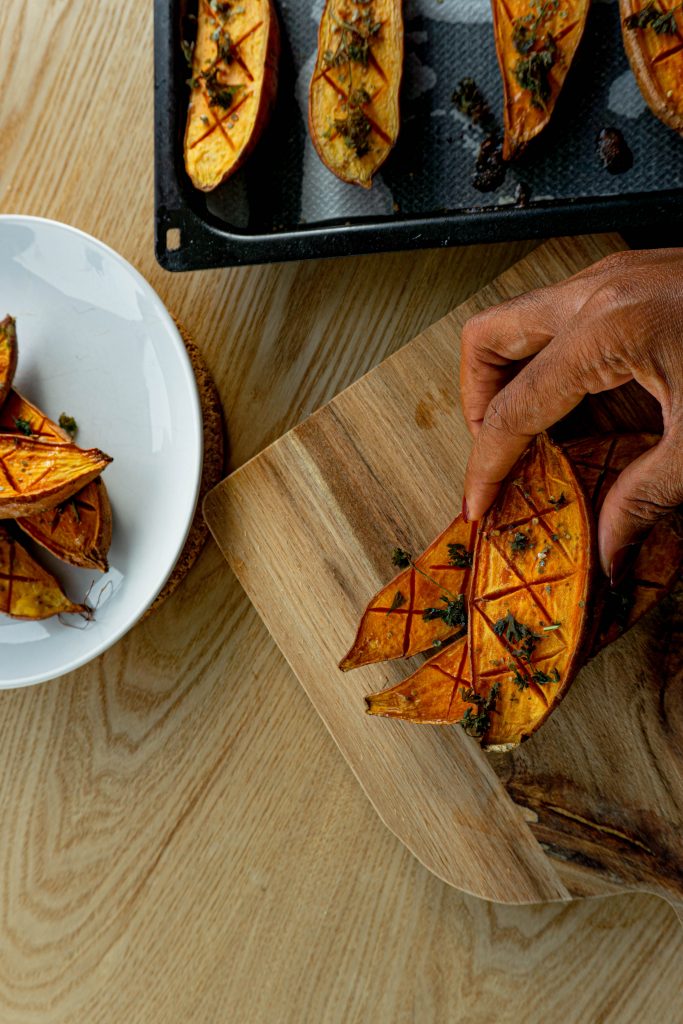
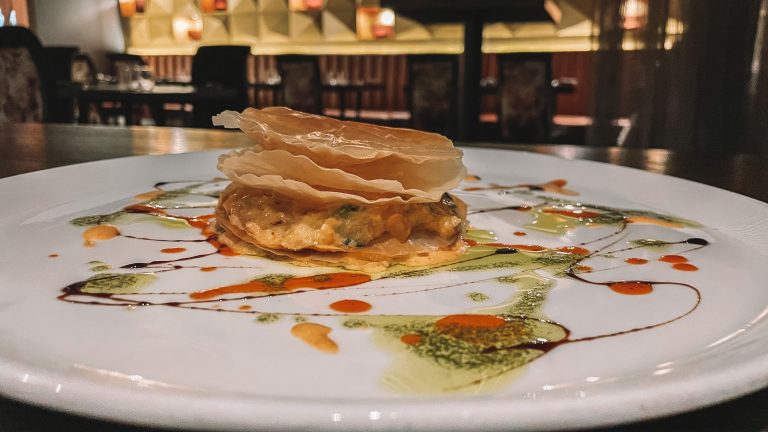
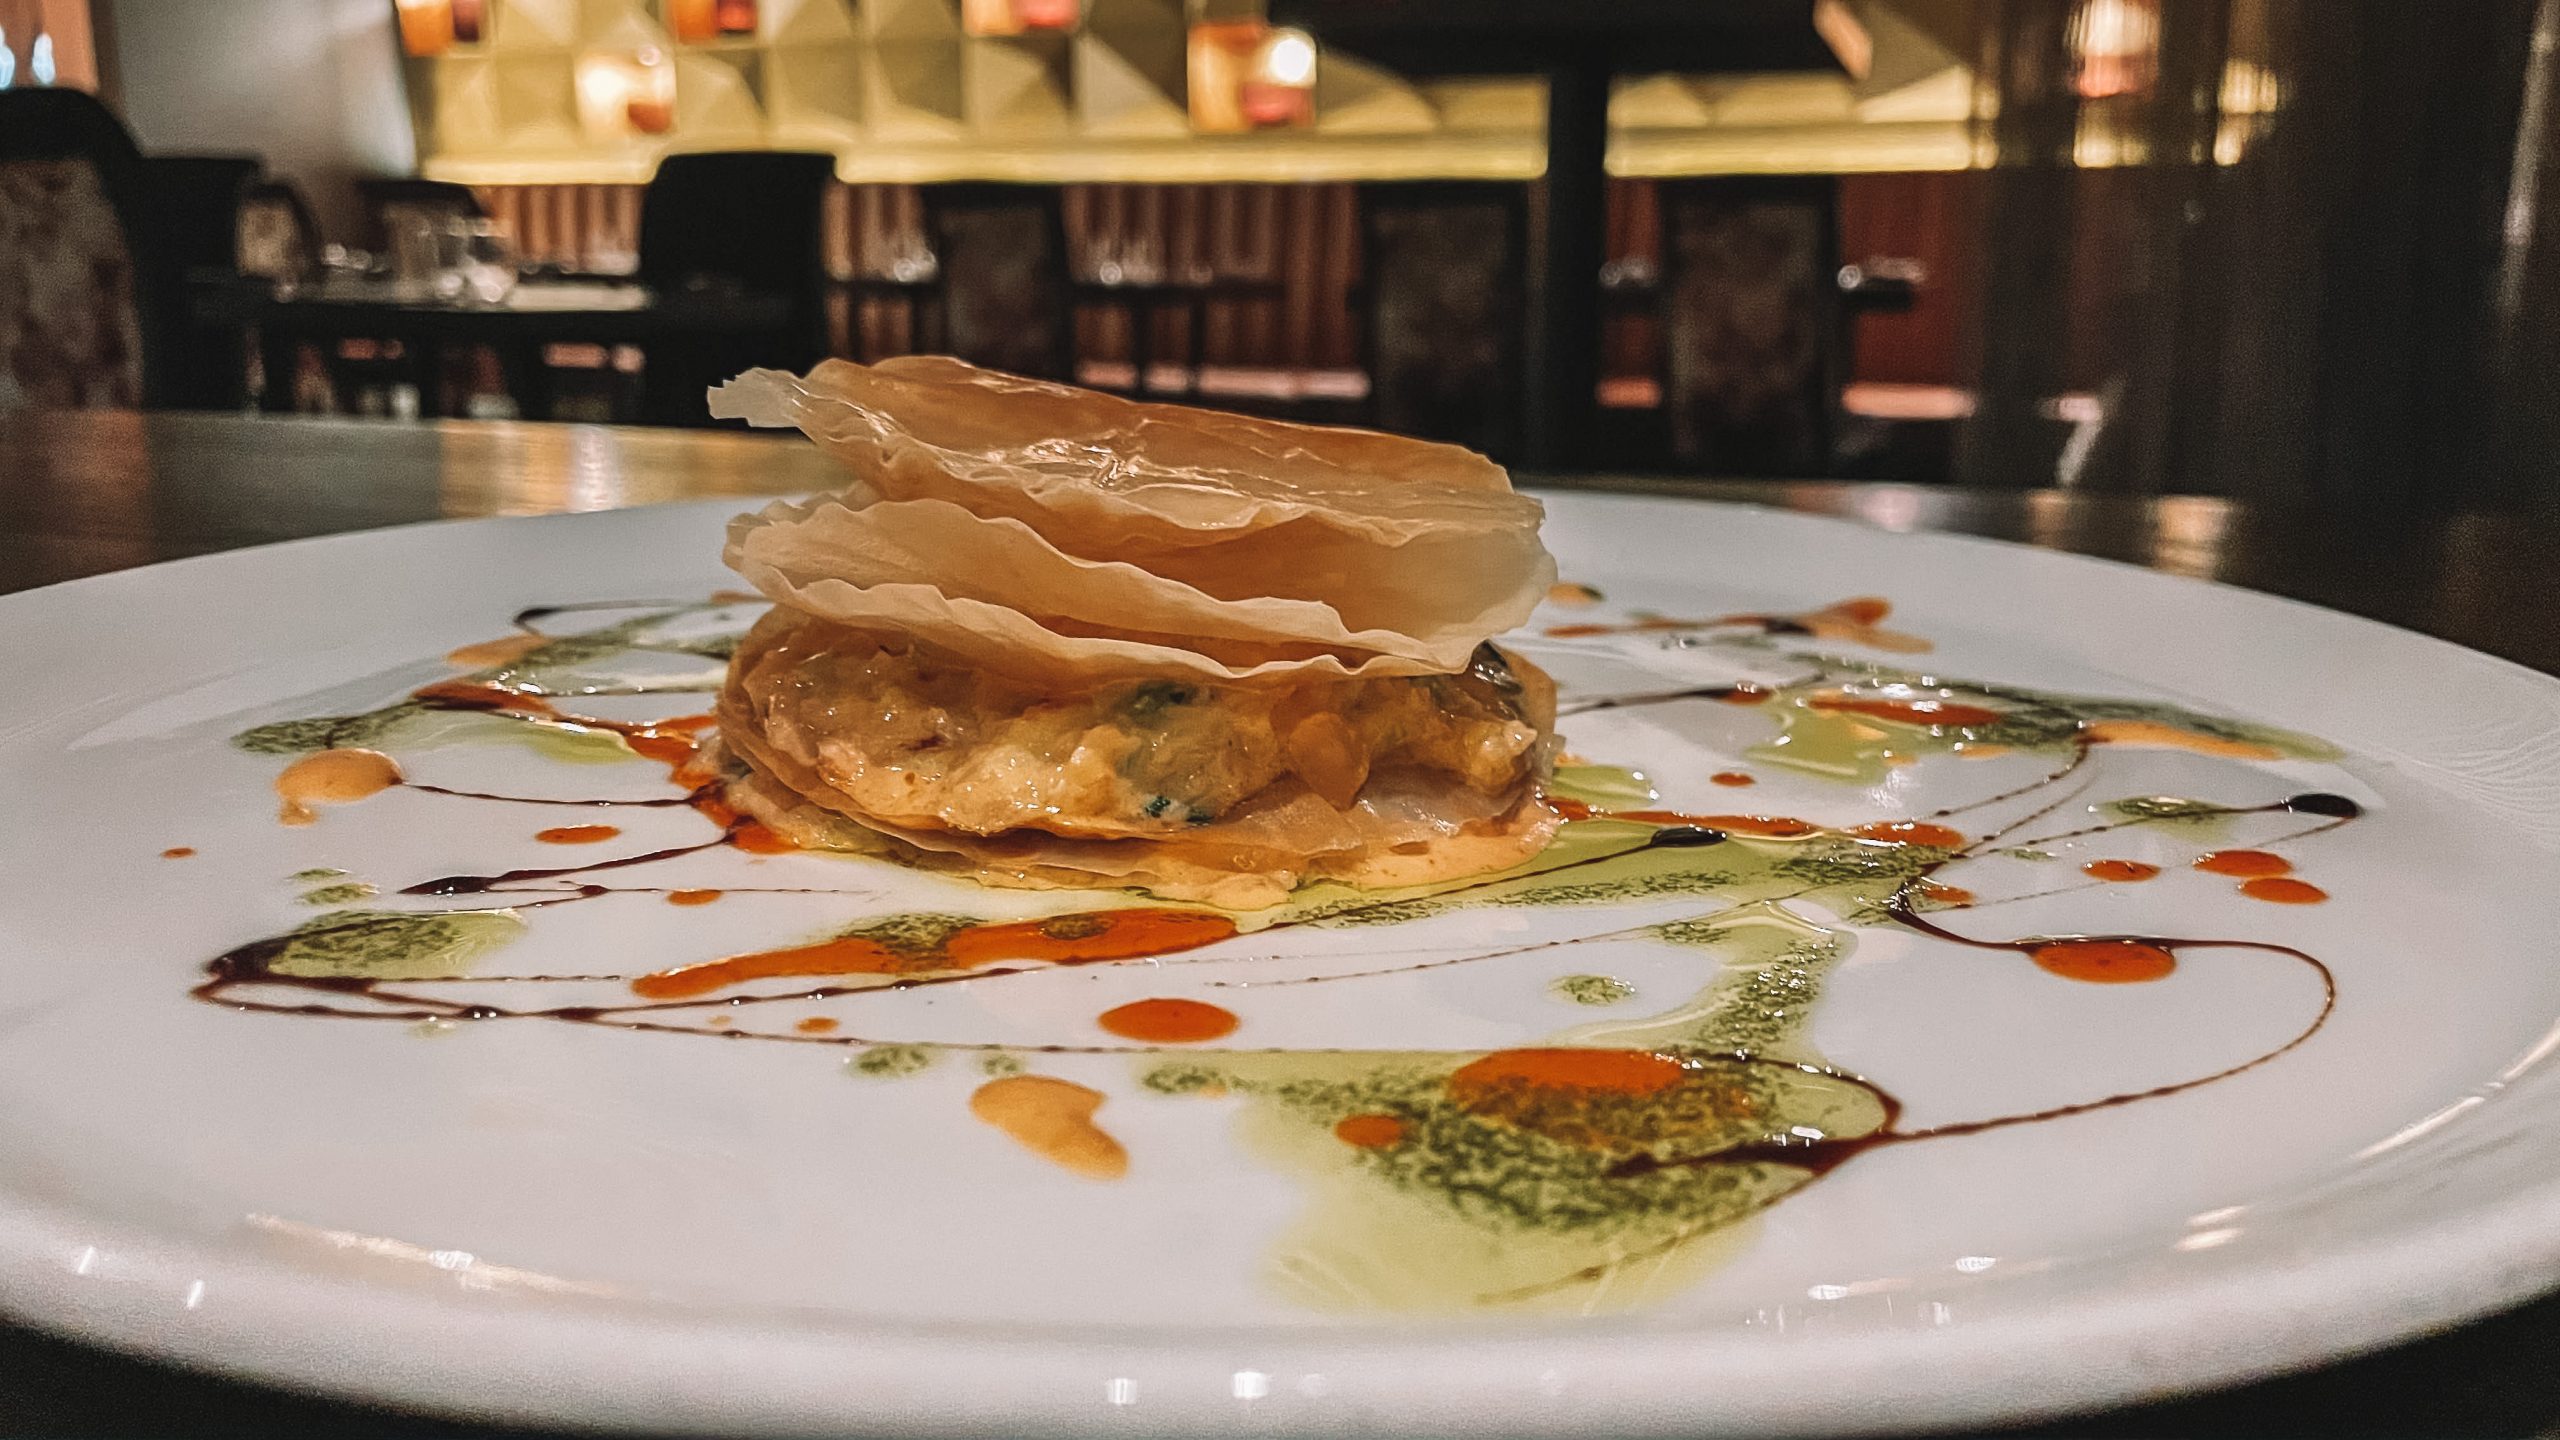
If you use Lightroom, you could get some food photography presets that already filters your pictures, but you don’t even have to go to that extend! (Check out my restaurant pictures in Berlin)

These are the basics of food photography for beginners. For cool demonstrations, check out Joanie Simon’s videos on Youtube .They are other items to look for if you want to go deeper, but that’s a topic for another day !

Share :

Share on facebook
Share on twitter
Share on pinterest
Share on linkedin

One Response

Leave a Reply

Your email address will not be published. Required fields are marked *

Most Popular

Get The Latest Updates

Subscribe To Our Newsletter

No spam, notifications only about new updates.

.